Sigma 35MM Art E Mount Review

Disclosure: This post may contain affiliate links, which means we may receive a commission if you click a link and purchase something that we have recommended. Helping us to keep making cool tutorials and videos.

When looking for the right lenses for video and photography. It’s important to try out various brands and different focal lengths. We tested out many Sigma lenses and though they aren’t perfect I recommend them for hybrid shooters.

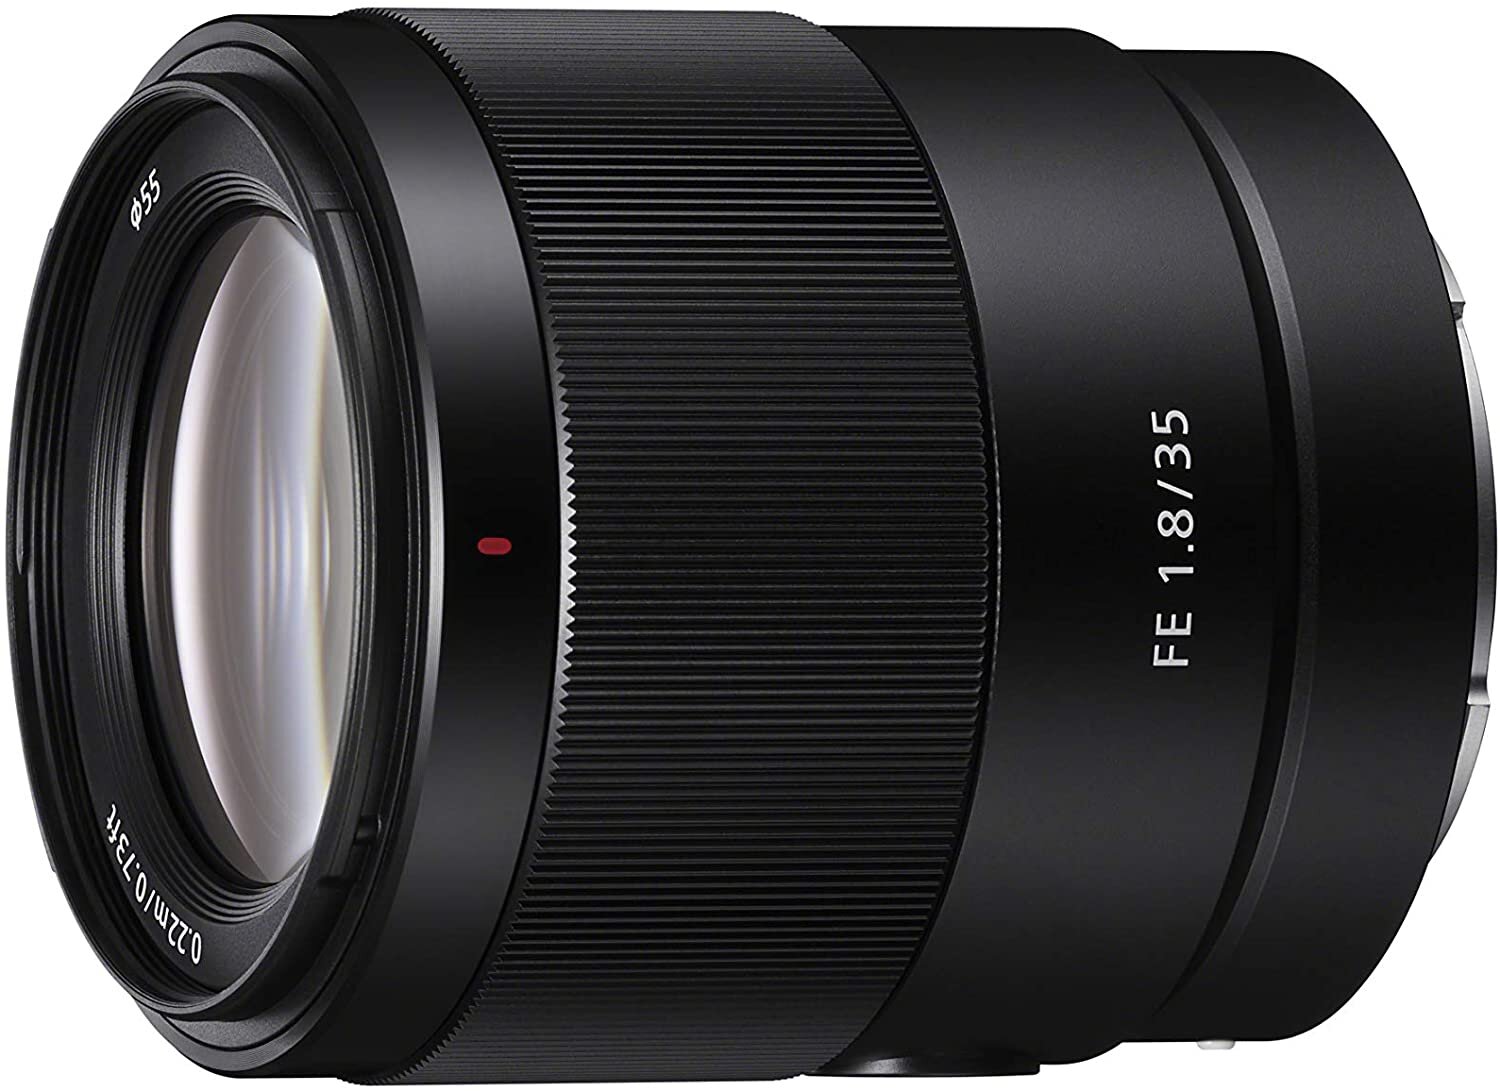
Cheaper than the Sony 35MM 1.8 the Sigma 35MM 1.4 has certain features that make it a stand out compared to that lens. I will answer the question if you should buy the Sigma 35MM 1.4 as a hybrid shooter?

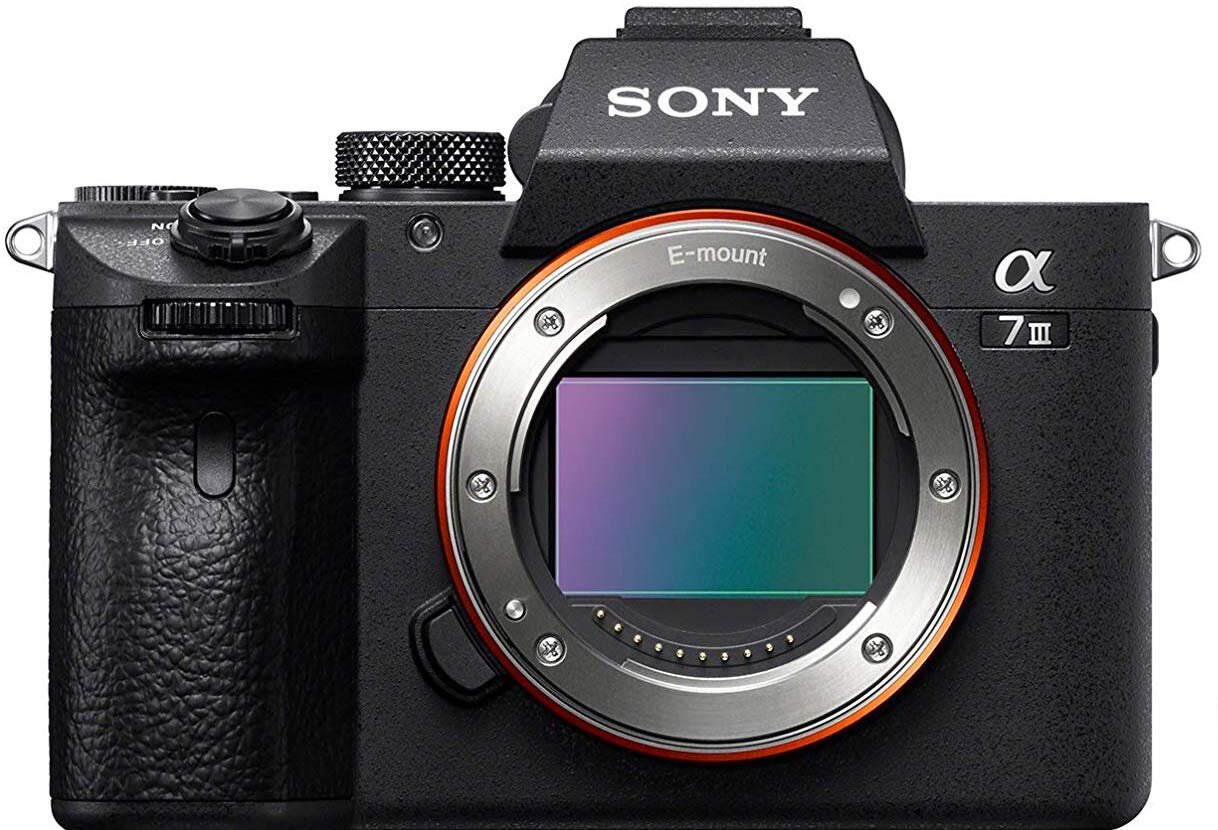
One of the main reasons why I love Sigma lenses is their build quality. The Sigma lenses will stay intact from drops. They have a solid and metal feel. Which feels more professional when shooting. Which is great for shooters wanting their gear to have a higher quality perception. I use these lenses on my Sony A7III camera.

Model image captured with the Sigma 35mm 1.4 lens on the Sony A7III

Model image captured with the Sigma 35mm 1.4 lens on the Sony A7III

Model image captured with the Sigma 35mm 1.4 lens on the Sony A7III

Model image captured with the Sigma 35mm 1.4 lens on the Sony A7III

How is Autofocus on the Sigma?

A flaw I see with the Sigma lenses is they all have different filter sizes. Which makes mounting to a matte box or adding lens filters a slow process. All the lenses have different diameters on the front. I wish they were uniform like the Cine versions of the lenses. The autofocus on the lenses is very good. Not as good as a native Sony lens. But good enough for most practical shooting scenarios. It’s snappy when shooting photos and smooth in video mode. Speaking of focus, one of the best things about the Sigma lenses is its manual focus rings. 

How is Manual Focus compared to the Sony?

Sony is terrible with its focus by wire systems. But the manual focus is where the Sigma lenses shine. I enjoy being able to autofocus and then manual focus when needed.

What is the image quality?

Image quality with these lenses is sharp, and the color is very nice. When it comes to the image quality and the cost. Sigma is making some of the best lenses on the market next to Canon. You’re getting a cinematic image compared to a lot of lenses that tend to look more video and digital.

Model image captured with the Sigma 35mm 1.4 lens on the Sony A7III

Model image captured with the Sigma 35mm 1.4 lens on the Sony A7III

Model image captured with the Sigma 35mm 1.4 lens on the Sony A7III

Model image captured with the Sigma 35mm 1.4 lens on the Sony A7III

Conclusion

Comparing it to the Sony 35MM 1.8 which is an amazing lens. If you need an extra stop of light and want a lens that handles manual focusing better. Then I would go with the Sigma 35MM 1.4. But if you want a smaller everyday travel lens Sony 35mm 1.8 is a better bet. I recently sold all my Sony lenses to switch to Sigma glass. For better manual focusing and build quality.

Thanks for Reading!

LIVE ART LOVE TEAM

P.S. If you’re interested to see all the equipment we shoot with head to our Gear Page.

PIN IT

Best camera lens for beginners.png
Sigma 35mm lens review best lens for dslr.png

Can The iPhone 11 Pro Max Replace Your DSLR?

Disclosure: This post may contain affiliate links, which means we may receive a commission if you click a link and purchase something that we have recommended. Helping us to keep making cool tutorials and videos.

Model in Red DSLR Sony A7III Photo

Model in Red DSLR Sony A7III Photo

Model in Red iPhone 11 Pro Max Photo

Model in Red iPhone 11 Pro Max Photo

Can the camera in your pocket replace your DSLR?

The iPhone 11 Pro Max is a phenomenal phone that boasts an impressive camera. One of the best cameras compared to other smartphones in the market. 

There’s a saying that the best camera is the one you have on you all the time, your phone's camera. This doesn’t make sense when you see new DSLR cameras coming out daily. If the best camera is the one in my pocket, why is the camera business still booming? The best camera to shoot with is whatever you can afford. You have to make do with what you have. With strides to invest in better if you decide photography is for you. For now, if you only have an iPhone start with that. But, if you have a DSLR, like the Sony A7III, I would suggest shooting with that.

I hate when photographers tell you to shoot with your iPhone when they shoot their work with expensive cameras. 

To put an iPhone camera to the test. I wanted to test the capabilities of the new iPhone 11 during a fashion shoot. Figure out if it can be a replacement for a DSLR in a pinch and what benefits you have when shooting with your phone. Here are some insights I learned:

Model in Sweater DSLR Sony A7III Photo

Model in Sweater DSLR Sony A7III Photo

Model in Sweater iPhone 11 Pro Max Photo

Model in Sweater iPhone 11 Pro Max Photo

No Learning Curve

When it comes to smartphones there is no learning curve. You can pick up your phone and take a decent picture without much skill. Without knowing photography basics.

Yet, this can be a pro and a con. As the iPhone has limitations when it comes to manual functions and how you want an image to look.

There's an iPhone Workaround

One great addition to the new lineup of iPhones is the portrait mode. With portrait mode, you can add a blurry background to your image. With the ability to adjust the aperture after you take the photo. This is cool because I love shooting portrait mode for selfies and when shooting around the city. This isn’t a replacement for a fast lens and a DSLR. Due to the automatic way it applies a blurry background the results aren't perfect. This is still a great step in getting a quality iPhone photo.

Model in Trench DSLR Sony A7III Photo

Model in Trench DSLR Sony A7III Photo

Model with Trench iPhone 11 Pro Max Photo

Model with Trench iPhone 11 Pro Max Photo

iPhone has Good Dynamic Range

When it comes to the dynamic range the iPhone shines. It might be a better choice when shooting in areas with strong highlights and shadows. For example when you’re shooting under an awning and there’s harsh sunlight coming through. Situations where with a DSLR camera you would have to fix it in post. With underexposing or bracketing the exposure. The iPhone has a smart HDR. So it can analyze an image and create a balanced image.

Final Thoughts

This isn’t a replacement for a good DSLR camera with an amazing dynamic range. Yet, it will save you when you’re shooting in harsh lighting conditions. In those times when your friend wants a photo and your DSLR isn't around. 

Watch the Video: iPhone 11 vs Sony A7III [Best Smartphone Camera 2020]

Products mentioned in this post:


Thanks for Reading!

LIVE ART LOVE TEAM

P.S. If you’re interested to see all the equipment we shoot with head to our Gear Page.

Time Management For Creatives 2020

Disclosure: This post may contain affiliate links, which means we may receive a commission if you click a link and purchase something that we have recommended. Helping us to keep making cool tutorials and videos.

Creative taking time for self reflection.

Creative taking time for self reflection.

As a creative freelancer, you’re in love with the freedom it represents. We go on this journey of entrepreneurship with certain goals in mind. We don’t want to work for someone else. Adhering to their schedule and rules. We like to be our bosses to create our schedule. The problem with working on your terms is we often procrastinate. I have a problem with time management as a creative. I wanted to break down some tips on how to manage your time as a creative business owner.

When is the best time to work as a Creative?

There’s this idea that everyone who works as an entrepreneur has to wake up at 5 am to get things going. Not everyone is a morning person, even when they wake up early. A 9 - 5 pm schedule is good enough. I’m not a morning person so I understand a person not feeling their best at 9:00 am. Self-reflect on when you feel the most positive about working. Tailor your important task around that time. It might be 6 am or it could be 2:30 pm. But find the time that makes you work the best. Remember most of your clients are working normal work hours. When needed make adjustments to their schedules.

How can I avoid procrastination as a Creative?

Avoid procrastination by having a plan of attack. Every day you should begin to create a to-do list of what you want to accomplish. Either in a journal, planner or with an app. I love using the Moleskin Timepage and Actions app on my phone and iPad. I also enjoy writing notes and lists in this Moleskin Daily Planner. These apps work in conjunction with each other one being a to-do list and the other being a calendar. What’s great about these apps is they connect to your Gmail. I use it to keep my team updated on events and meetings. The layout is very clean and easy to use. Whatever you choose it’s great to stay organized. Write down your tasks so you follow through with them.

What should I tackle first with time management?

Do what’s most important first. If you’re anything like me its hard to focus. I get distracted with video games, researching new cameras, and scrolling on Instagram. When creating a list be honest with yourself and put the hardest and most important tasks first. Tackle that project and meet the deadlines to make your clients happy. Learn to focus on your workflow and it will guarantee better results.

Desk with computer on it.

Desk with computer on it.

How to handle self-care as a Creative?

It's important you schedule a time for self-care and doing nothing. Once you get good at planning out your day and schedule. It’s easy to overwork yourself which leads to emotional and physical burnout. Try to make time to disconnect from work and take a break to refresh and recharge your system. Examples are a digital disconnect from social media, working on a passion project, or going on a trip. Enjoy a few nonproductive days at least once a month. These purposeful breaks will help you focus on yourself and to better mental well being. Doing nothing can be a great way to step back and look at the whole picture of why you create and what matters to you.

Watch the Video Time Management For Creatives:

Thanks for Reading!

LIVE ART LOVE TEAM

P.S. If you’re interested to see all the equipment we shoot with head to our Gear Page.

Fuji X-T3 Review: Crop Sensor Vs. Full Frame DSLR Camera [2020]

Disclosure: This post may contain affiliate links, which means we may receive a commission if you click a link and purchase something that we have recommended. Helping us to keep making cool tutorials and videos.

Model standing in front of flowers shot with FujiX-T3

Model standing in front of flowers shot with FujiX-T3

Model standing in front of flowers shot with FujiX-T3

Model standing in front of flowers shot with FujiX-T3

How do you know what DSLR camera to choose?

Many camera companies are creating mirrorless DSLR cameras. Including Panasonic, Sony, Canon, and Fujifilm. It can be overwhelming to figure out what's best. The main question in purchasing is if you want a crop sensor camera or a full-frame camera. I recently shot with the Fuji X-T3, during a fashion shoot. This made me start to think about the benefits of a crop sensor camera vs a full-frame one. This also gave me a chance to see if it can be a hybrid camera for fashion photography and video.

What is the difference between a crop sensor and a full-frame camera?

A full-frame camera gives a full readout of its sensor. Thus not having a crop. But, a crop sensor and in this case the APS-C sensor size is smaller. What does this mean for photography? The smaller sensor means a lighter camera body, poor quality in low light, and less shallow depth of field. Shallow depth of field is what creates the blurry background.

Does this mean you can’t pull off amazing images with crop sensor cameras? No, because a lot of the crop sensor cameras have workarounds to provide shallow depth of field.

Model sitting on hammock shot with FujiX-T3

Model sitting on hammock shot with FujiX-T3

Model wearing lace on hammock shot with FujiX-T3

Model wearing lace on hammock shot with FujiX-T3

How does the Fuji X-T3 perform in Low Light?

When it comes to low light performance the Fuji X-T3 does a decent job. With fast glass, you can pull off decent low light shots. If you want to get the most out of the camera in low light you'll need a Metabones Speed Booster. This will get it closer to the full-frame look you desire. But it costs $500.

How is the FujiX-T3's Depth of field?

When using a crop sensor camera your lens focal length changes. In this case, I was shooting with a 50mm Fuji X-T3 lens which is equivalent to an 85mm due to the Fuji 1.7x crop. This works out for fashion portraits. But know that your aperture is not the same with crop sensor cameras. For instance, an F/2.0 on the Fuji X-T3 is more of an F/4 on a full-frame camera. This is important if you're looking for that blurry background.

Model wearing a white blouse shot with FujiX-T3

Model wearing a white blouse shot with FujiX-T3

Model wearing a white blouse shot with FujiX-T3

Model wearing a white blouse shot with FujiX-T3

How is the Fuji X-T3 with Video?

The great advantage of shooting crop sensor is lens selection. There are many great crop sensor lenses if you’re a filmmaker that manually focuses. The great advantage of the Fuji X-T3 is the codec it shoots in is perfect for filmmakers. It can shoot 4:2:2 10-Bit external recording at high bitrates. Which is great for medium to large-scale productions.

The Fuji X-T3 is an amazing piece of equipment. The crop sensor has many applications. I can see it helping filmmakers create outstanding work with lower budgets. If you're in the need for beautiful picture quality, strong codecs, and a compact design. I would consider the Fuji X-T3 as your next camera buy.

Watch the video to see how the Fuji X-T3 performs with recording video:

Products mentioned in this post:

Thanks for Reading!

LIVE ART LOVE TEAM

P.S. If you’re interested to see all the equipment we shoot with head to our Gear Page.


3 Photography Tips for Better Backgrounds

Disclosure: This post may contain affiliate links, which means we may receive a commission if you click a link and purchase something that we have recommended. Helping us to keep making cool tutorials and videos.

Raw image of model in front of white wall

Raw image of model in front of white wall

Raw image of model in front of white wall

Raw image of model in front of white wall

In Los Angeles, locations and studios can get expensive. If you’re a new photographer or a seasoned one it can get discouraging trying to find places to shoot. Especially when the clients don’t understand the value. I know that you get tired of going outside, but when it’s all you have, it’s better to shoot than not at all. We did a shoot with the Sony A7III with the Sony FE 24mm 1.4 G Master lens and used all free outside locations to capture images. All the photos in this post are raw images.

Here are the top tips in getting better backgrounds for your photos:

Textures 

When looking for a place to shoot your model pay attention to colors and textures. See how it flows with the model’s wardrobe. Often you can find cool textures on walls and garage doors. What you’ll find is, you get a background that looks more stylized and less like you took a photo in front of a blank wall. For our shoot, we decided to add a bit of texture by placing a sheet on a couple of light stands. This brought a whimsical aesthetic to the images. When we moved it around it created a texture. You can do this with any fabric. 

When walking around outside, don’t be afraid of ugly corners or the appearance of rust, wood, or concrete. If you play around with these areas you can often get cool photos. I always say, take the shot and if it doesn’t work move on. But sometimes these places will surprise you.

Raw image of model in front of sheet

Raw image of model in front of sheet

Raw image of model in front of sheet

Raw image of model in front of sheet

Lighting 

When working with your model think about lighting. As we’ve mentioned before you don’t always get the luxury of a golden hour or studio. When working outside watch how the light hits trees, walls, lamp posts. You can use shade to create cool angles in your shot. Slivers of light through trees can create cool shadows around your model. All photographers will shoot in harsh light sometimes. You can find soft light by placing models under a tree or in the shaded spot of a building. Pay attention to shadows to create composition and artistic choices for backgrounds. 

Raw Image of model in a field next to bush.

Raw Image of model in a field next to bush.

Raw Image of model in nature sitting on tree stoop.

Raw Image of model in nature sitting on tree stoop.

Interactive Backgrounds

Give your models something to do. This will allow them to move with purpose and tell a story. For our shoot, we had the model play around with the sheet we placed on light stands. This added a flirty vibe to the photos, like a perfume ad. Likewise, when shooting outside we had the model interact with the plant and flowers around her as a prop. We found a stump that was perfect for the model to sit on and pose. I’ve seen photographers take awesome photos using shopping carts, food, sunglasses, etc.

If you’re working with an amateur model using props will make them get comfortable. Look for stairwells, plants, rails and places the model can lean against or touch work great.

Watch the Video Photography Tips for Better Backgrounds:

Thanks for Reading!

LIVE ART LOVE TEAM

P.S. If you’re interested to see what equipment we shoot with head to our Gear page.

Batis 25mm Review [AND $100 B&H GIVEAWAY]

Disclosure: This post may contain affiliate links, which means we may receive a commission if you click a link and purchase something that we have recommended. Helping us to keep making cool tutorials and videos.

Batis 25mm Review Photography 9.jpg
Batis 25mm Review Photography 10.jpg

The Batis 25mm lens is another stellar lens for Sony cameras. This wide angle lens is perfect for landscapes, street photography, events, or travel. I found myself grabbing this lens for quick day trips and outings. Due to the fact that it’s lightweight, wide enough for most situations. But also versatile enough to shoot pictures of people and their surroundings. Don’t forget to join our giveaway at the bottom of this post!

THE DESIGN

Once again the lens body is amazing coming from Zeiss. This lens feels like quality in your hands. From the moment you take it out of its foam and fancy packaging. You know you’re holding something amazing. Plus the Oled display that comes with the lens makes you want to show it off to your fellow photography geeks.

Batis 25mm Review Photography 7.jpg
Batis 25mm Review Photography 6.jpg

IMAGE QUALITY

The image quality of the Batis 25mm is beautiful. Something about the look of Batis lenses leaves me impressed. I understand that Sony’s G Master lineup is the top of the line. Yet, I find that Batis lenses have comparable image quality. The color and the contrast of this lens helps it stand out amongst other lenses on the market. This lens is tack sharp, which for me isn’t a big selling point. As I like my images to look more cinematic and less digital. The easiest way to make it less sharp is to use a Black Pro Mist Filter to soften it up. But it's better to have a lens that handles sharpness well. Then adjust later as needed in post editing.

FOCUS

This lens has a close focusing distance that you wouldn’t expect from a wide angle lens. Making this lens perfect for Marco images and video. It won’t replace a dedicated macro lens. But it’s great to have a feature like this when shooting in a pinch.

Another thing I love about the Batis 25mm is how it handles backlight and lens flare. The flares that come from the lens are gorgeous. The way it retains detail when shooting in bright situations is a plus for my type of shooting.

Batis 25mm Review Photography 2.jpg
Batis 25mm Review Photography 4.jpg

CONCLUSION

The Batis 25mm is one of my favorite lenses I’ve used on my Sony A7III. My plan was to buy this lens and be done with it. However, I preordered the Tamron 17-28mm F/2.8 and I’m super excited for that lens to come out. If it’s anything like my Tamron 28-75mm F/2.8, it will be exactly what I need as a hybrid shooter. Once I get my hands on that lens I’ll be able to decide if I want to keep the Batis 25mm or not. Regardless look out for a lens review of the Tamron once it is released.

Batis 25mm Review Photography 1.jpg

GIVEAWAY

We’re excited that we officially hit 1,500 subscribers on our YouTube Channel. This is a huge milestone for us that we want to celebrate. We’re doing a giveaway for a $100 gift card to B&H. To help a lucky winner add to their own photo or video equipment. This giveaway is open worldwide. Enter below for your chance to win!

Watch the Video: Batis 25mm Review [$100 Giftcard Giveaway!]

We hope to do more of these in the future!

Thanks for reading!

LIVE ART LOVE TEAM


Wide Angle Portraits? [Sony 24mm G Master Review]

Disclosure: This post may contain affiliate links, which means we may receive a commission if you click a link and purchase something that we have recommended. Helping us to keep making cool tutorials and videos.

Photo: Model in White - Wide Angle lens Portrait

Photo: Model in White - Wide Angle lens Portrait

Photo: Model in White - Wide Angle lens Portrait

Photo: Model in White - Wide Angle lens Portrait

Recently shot with the Sony FE 24mm 1.4 G Master lens for an agency model shoot. First impressions of this lens are that I’m impressed by its quality. I wanted to test the question -  Can you shoot portrait photography with a wide angle lens? I decided to have some fun and use this Sony FE with on A7III to shoot some portrait photos of the model. The general rule, when shooting portraits, is to use a telephoto or medium telephoto lens. The most popular focal length for portraits being the 85mm lens. 

Why are telephoto lenses the best for shooting portraits? Telephoto lenses compress features on people. Creating a slimmer and flattering appearance. This is the main reason It’s not recommended to shoot portraits with wide angle lenses. In fact, it’s a major no-no among professional photographers. Yet, being creative means being adventurous in your decisions. Learn the best techniques and then do whatever feels right. Some of the best art  has disregard or no knowledge of “the rules.”

I’m going to give you my review on the main features of the Sony FE 24mm 1.4 G Master lens when shooting wide angle portraits:

Photo: Model Wide Angle lens Portrait

Photo: Model Wide Angle lens Portrait

Photo: Model Wide Angle lens Portrait

Photo: Model Wide Angle lens Portrait

Distortion

The main issue you will find when shooting wide angle is distortion. There are two types to look out for barrel distortion and perspective distortion. Perspective distortion for me is the one you have to be careful to avoid. It can make people look bigger than they are. Which is fine if that’s the style you’re looking for. The best way to avoid this is by having the model further away from the lens. For our shoot, I didn’t want to worry about limitations and I shot what I felt was right. What was great was with the Sony 24mm GM Master I felt it handles distortion very well. Making it easier to pull off wide angle portraits.

Image Quality

The image quality of the Sony 24mm is amazing. G Master has a reputation for high-quality lenses so this doesn’t disappoint. I like to have cinematic images. So I enjoyed how this lens handles sharpness without being "too sharp." Since too much sharpness look can throw off an image. Comparing this lens to the Sigma Art Series of lenses are too sharp. I found the Sony 24mm GM was at a perfect medium.

Photo: Model Wide Angle lens Portrait

Photo: Model Wide Angle lens Portrait

Photo: Model Wide Angle lens Portrait

Photo: Model Wide Angle lens Portrait

Autofocus

One of my main issues with the Sony G Master lenses is price. The Sony 24mm is $1,400. Most G Master lenses are pricey. One of the main benefits that make this price tag worth it is autofocus. The handle autofocus better than third party lenses. The autofocus on the Sony 24mm was fast and responsive. Making it hard for me, as a hybrid shooter, to justify buying a cheaper lens with slower autofocus. If autofocus isn’t a deal breaker for you then there’s a lot of cheaper options out there.

The Sony 24mm f/1.4 G Master is an impressive lens. The build quality is nice, the image is beautiful and it handles autofocus well. It can be a great addition to your kit if you’re looking for a good wide angle prime. I plan on testing out the Zeiss 25mm f/2 next to see if it's any better than the G Master. Keep you posted when I finally compare the two.

Watch the Video: Wide Angle Portraits? [Sony 24mm GM Review]

Thanks for reading!

LIVE ART LOVE TEAM


iPhone vs DSLR

Disclosure: This post may contain affiliate links, which means we may receive a commission if you click a link and purchase something that we have recommended. Helping us to keep making cool tutorials and videos.

iPhone Image - Model Posing

iPhone Image - Model Posing

DSLR Image - Model Posing

DSLR Image - Model Posing

As a beginner photographer, you feel required to invest in DSLR cameras and equipment. Before you make a big investment start with your smartphone. If you have an iPhone you can begin taking photos and practicing the basics of photography. We did a fashion shoot using our Sony A7III DSLR and iPhone X to compare them. Continue reading to get tips on shooting professional fashion photos with your iPhone.

iPhone Image - Model posing near car

iPhone Image - Model posing near car

DSLR Image - Model posing near car

DSLR Image - Model posing near car

1. Optimal Settings

Every smartphone has settings within the camera function. You don’t know they’re there unless you play around with it. When checking your phone’s camera make sure settings are set for the best quality. With the iPhone X go into the camera settings and make sure you have these boxes checked:

  • Smart HDR on the main settings menu.

  • Most compatible in the Formats section.

The reason for this is the iPhone tends to try to compress images to save space on your phone. So when you check these boxes the files will be bigger but higher quality. If you begin using your iPhone to capture high-quality photography. Make it a habit to clear storage up by deleting photos often.

iPhone Image - Model posing

iPhone Image - Model posing

DSLR Image - Model posing

DSLR Image - Model posing

2. Feed it Light

Lighting is a recurring theme for photography. It will separate your photos from being amateur to being high caliber. You’re using the iPhone so you will need to feed it light. The camera on this phone has a small sensor so you have to shoot at the right time of day. This will help avoid low light shots. I find that when shooting in low light the iPhone image breaks apart in detail. We used natural light for our shoot. When showing it to friends they couldn't tell which images were iPhone and DSLR.

iPhone Image - Model posing

iPhone Image - Model posing

DSLR Image - Model posing

DSLR Image - Model posing

3. Learn Composition

As a beginner shooting with an iPhone can be a great way to learn about composition. The iPhone has its shining components. It has Smart HDR to read a scene and adjust exposure. A feature that's not available to DSLR’s without post-production. This gives the iPhone the impression of more dynamic range than a DSLR. Even as a professional photographer, limitations can be a great way to spice up your photography. Next time you’re shooting. Capture a few photos on your iPhone or smartphone and see the results you get. Challenge yourself to get stellar photos regardless of equipment.

Watch The Full Video on the iPhone vs DSLR:

Thanks for reading!

LIVE ART LOVE TEAM