
Disclosure: This post may contain affiliate links, which means we may receive a commission if you click a link and purchase something that we have recommended. Helping us to keep making cool tutorials and videos.
DJI OSMO Pocket 4K
The DJI Osmo Pocket 4k is the perfect travel companion. With an upcoming work trip to Europe, I knew I wanted to document the experience. A few months prior I had visited Japan. I got stunning video while on the trip. But with using the Zhiyun Crane 2 it was a bit cumbersome to travel with and heavy on long walks around the city. After some initial research, I decided to pull the trigger on purchasing the OSMO Pocket 4K. The DJI OSMO Pocket is a blend of a few of their other products. It’s a smartphone stabilizer and drone mixed in one. Stabilization is a must when on the go while traveling. The Osmo has a 1-inch sensor and shoots in 4K and 4K 60p.
Here are some quick pros and cons on the DJI Osmo Pocket 4K
IMAGE QUALITY
My expectations were low in comparison to my other cameras. But I was wrong. I love the image that comes out of the OSMO. Always use the device connected to your phone for the best image. This turns your phone into a monitor. The screen on the OSMO is too small and you can get discouraged trying to use it. Plugging it into your phone is a quick fix. The footage is not groundbreaking but it’s 4K. Which means high quality to manipulate to get the color you want. I combined it with their Cine Like profile to get decent color.
What I don’t like about the image is the lack of depth of field and low light performance. It struggles in dark environments. With a small sensor, the shallow depth of field is weak.

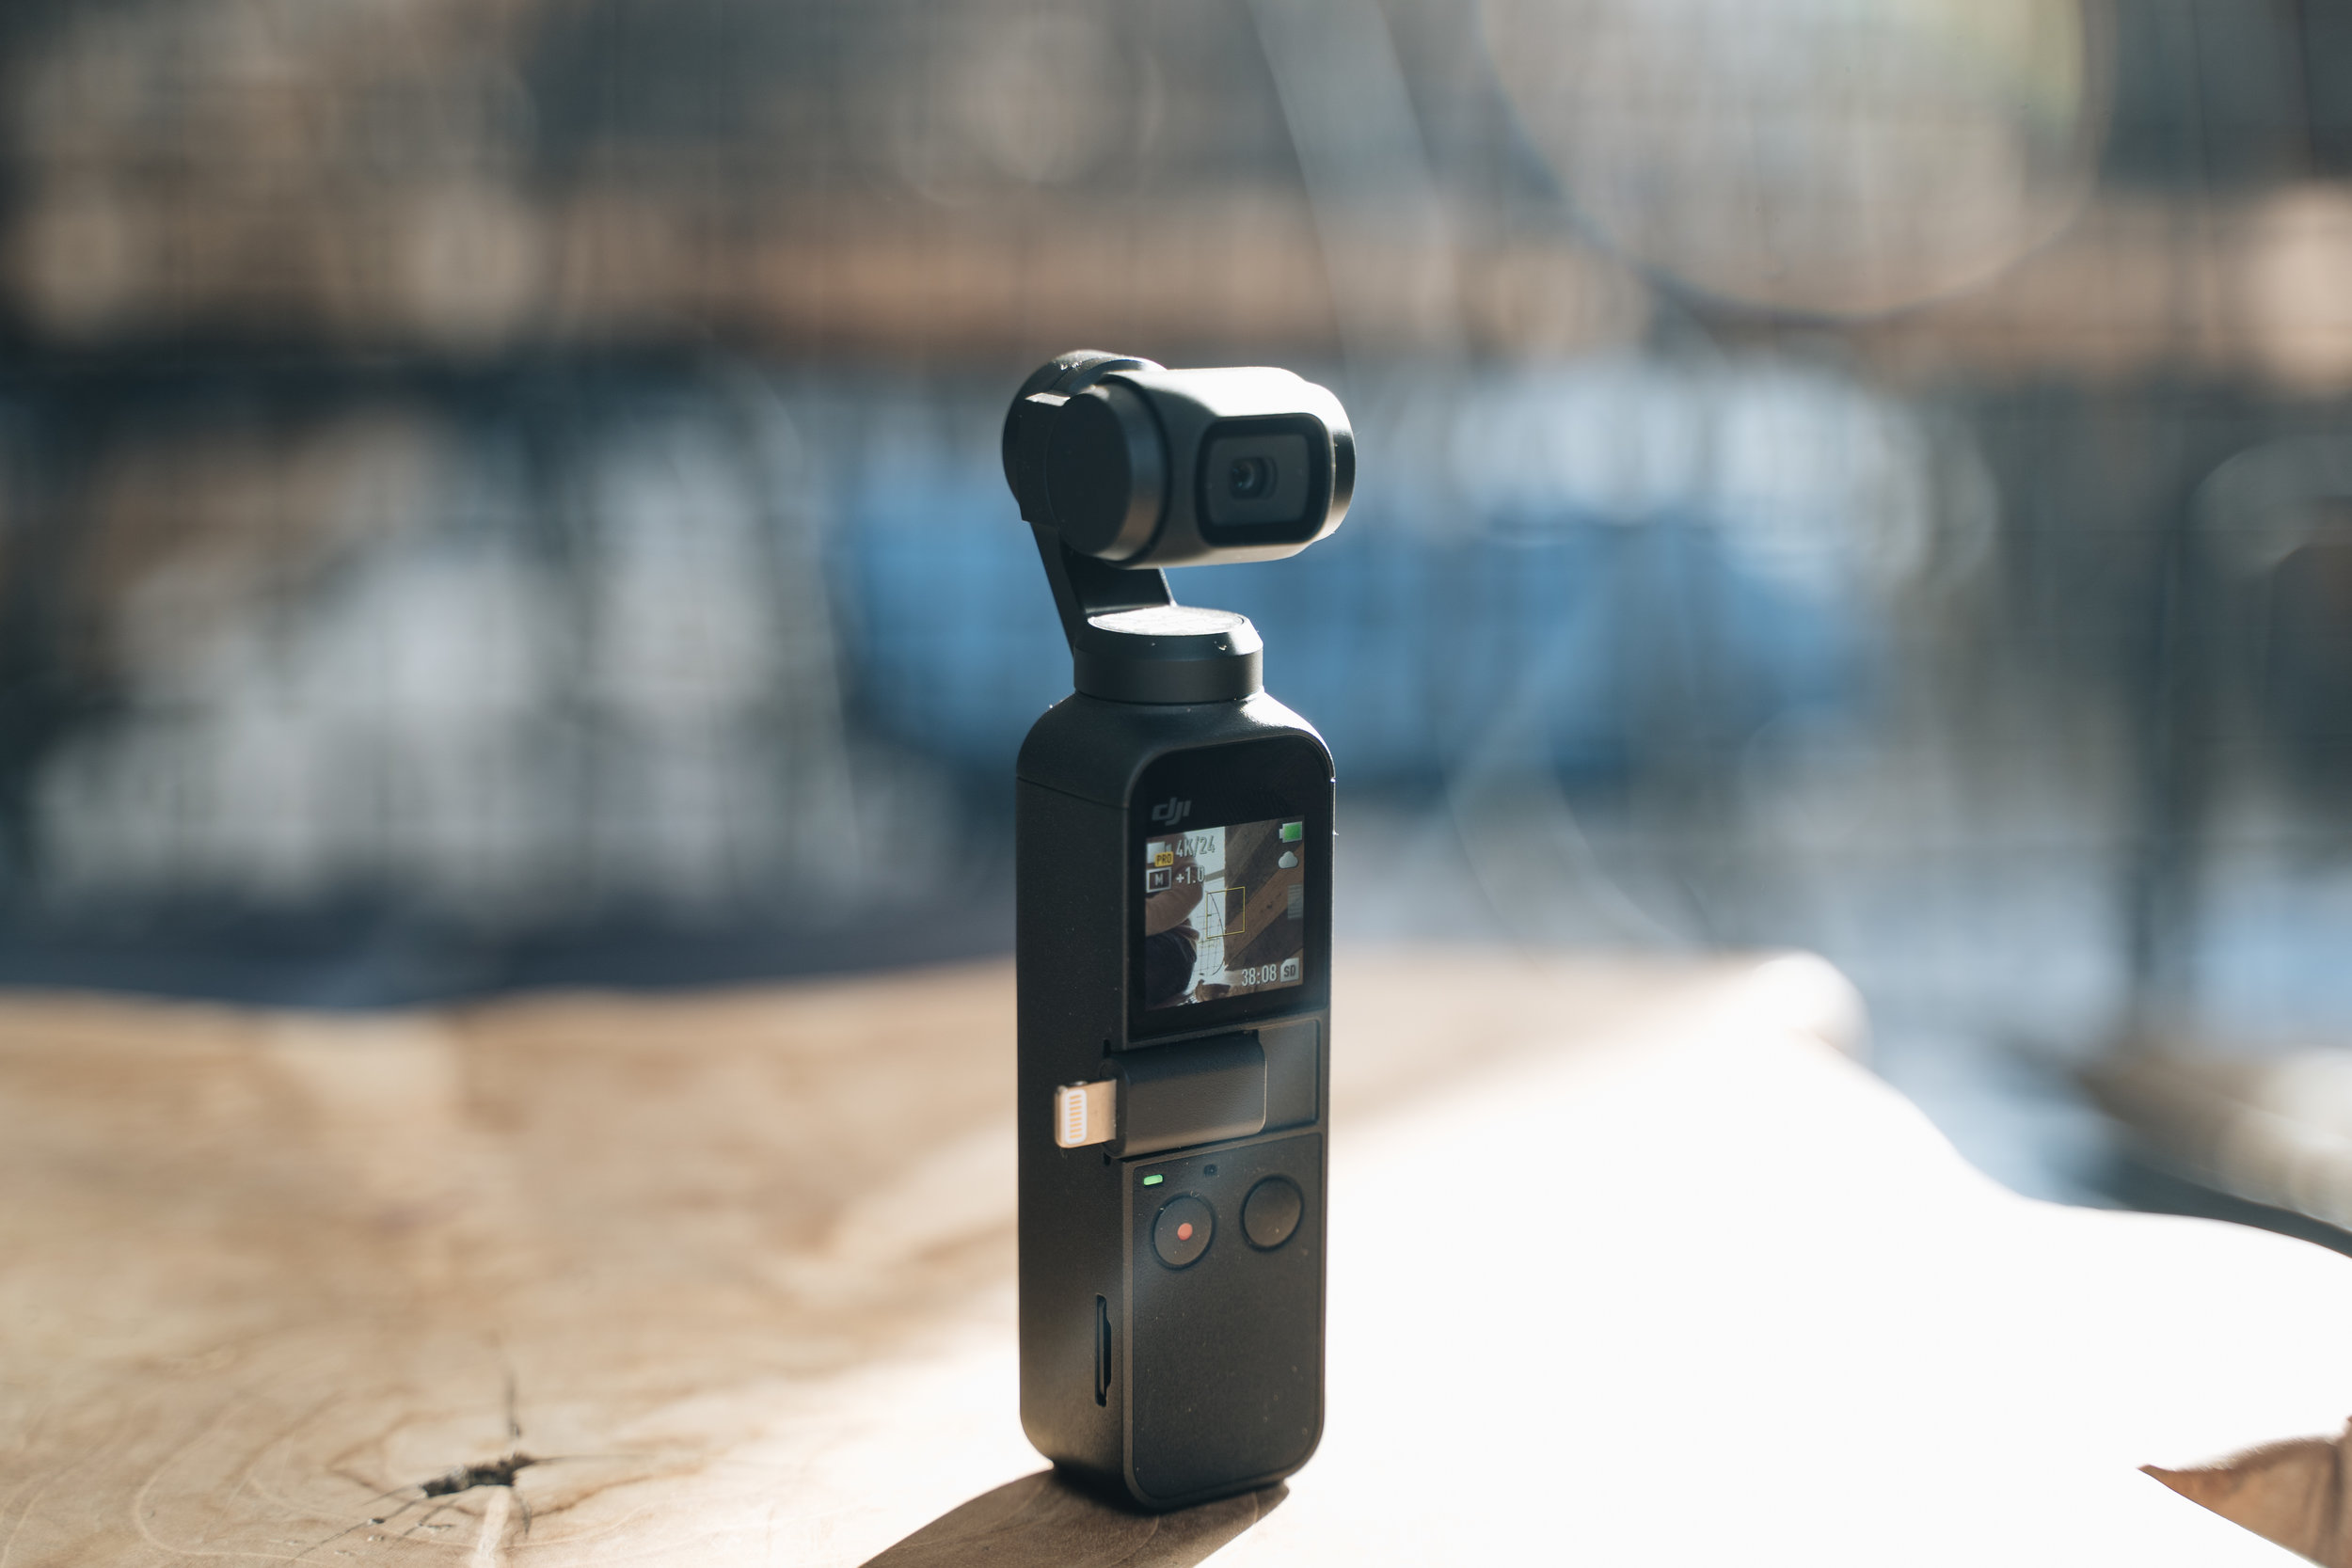
DJI Osmo Pocket Camera
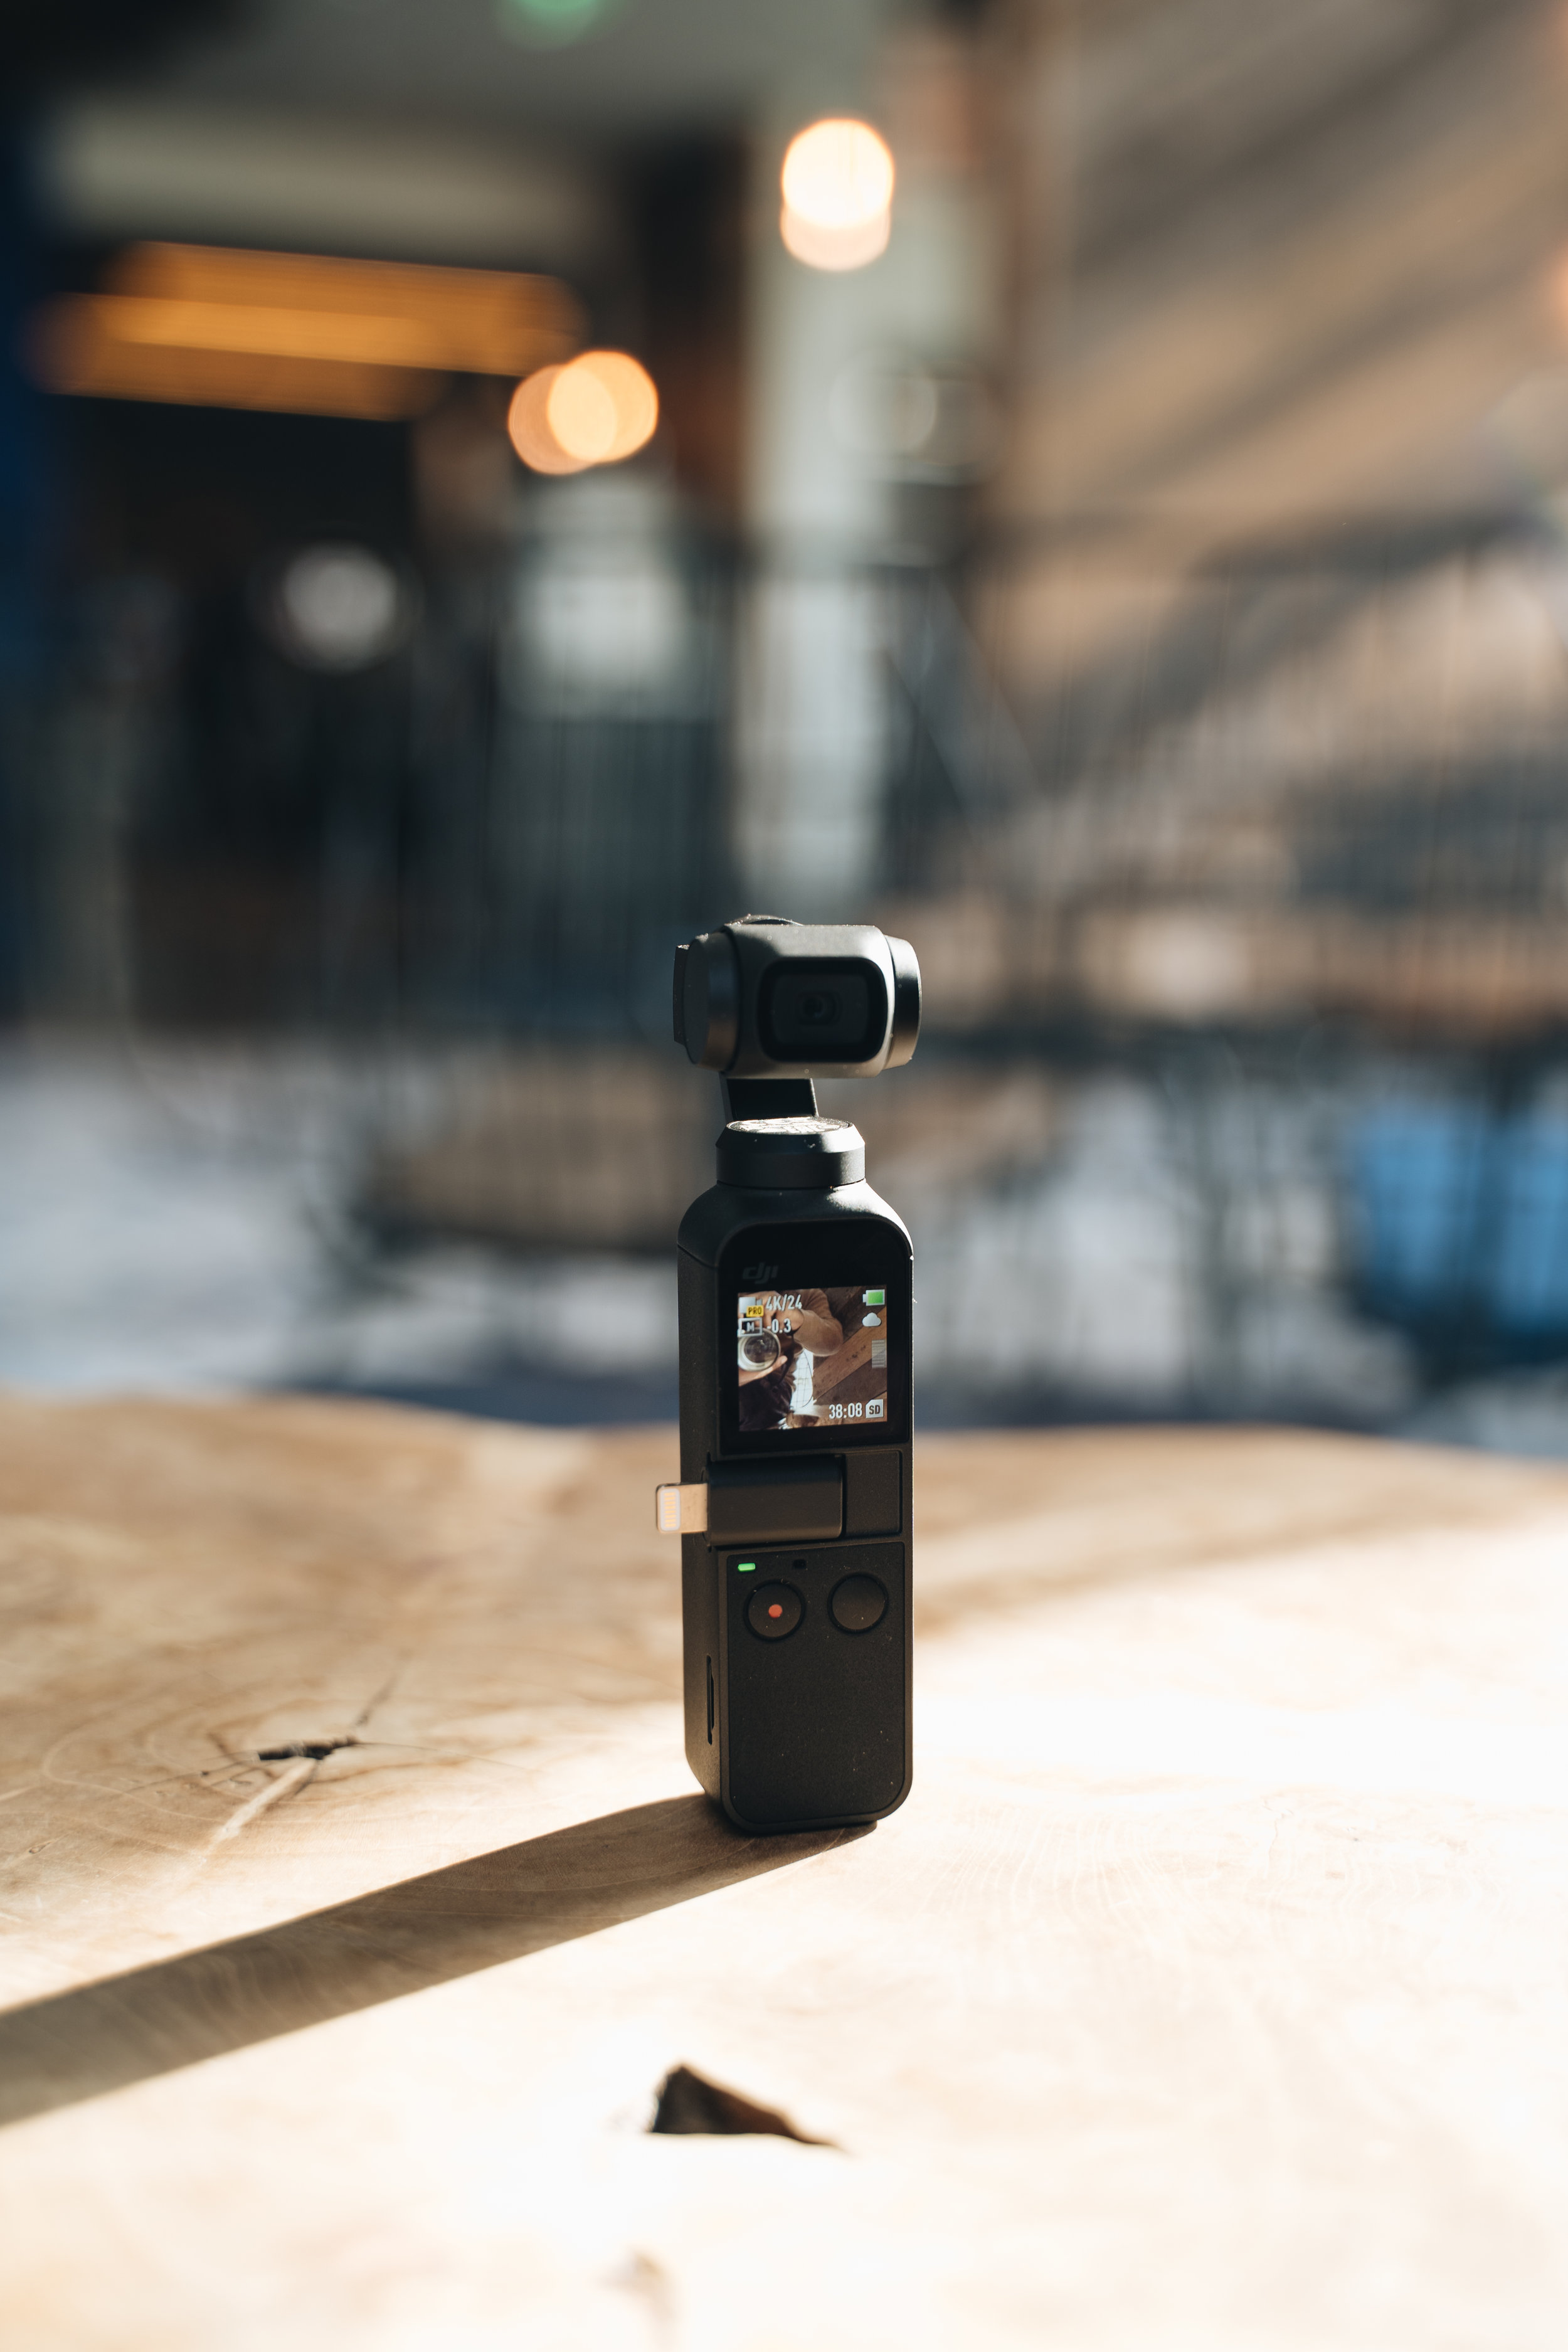
DJI Osmo Pocket Camera
PORTABILITY
The OSMO gimbal and camera is discrete. It turns out fast and with the cellphone connected it’s a small setup that’s fun to use. I had it on slow follow mode and it was buttery smooth. This is a great camera to throw in a backpack or purse and not feel weighted down with equipment.
What I don’t like about the design is the screen is too small without a smartphone attached. So small that it’s useless unless your eyesight is impeccable. As much as I like the small form factor I wish it had a larger body and screen size.
EXTRAS I LOVE
The OSMO has a cool time-lapse mode. You set the desired points and have the gimbal follow those moves for time lapses. For on the go shooting I like the autofocus and tracking autofocus. Sometimes it misses its target but for the most part, it’s good. The 4K 60p is a fun addition to have.
SHOULD YOU BUY THE OSMO POCKET 4K?
If you have travel plans in the future, the OSMO it’s a great camera. It doesn’t disrupt you having fun on trips. It also great if you’re in need of a quick time lapse for a project.
I would say as a filmmaker it’s a good addition to your kit. But not a must have. If you plan on doing more travel vlogging I would recommend it to get started. To be honest I’m more excited about what’s to come with the OSMO. DJI has a lot of good cameras and stabilizers. If they increase the body of the OSMO pocket, include a better camera and screen this device can be amazing. I’m sure they have something in the works. New updates on cameras come out all the time. So think about that before pulling the trigger on this first generation.
Watch The Full Video on the OSMO POCKET:
What are your thoughts on the DJI OSMO Pocket Camera?